How To Freeze Dry Food Without A Machine: DIY Techniques Explained
Freeze-drying food has been a go-to preservation method for over a hundred years. This process removes the moisture from the food, allowing it to last longer without losing its nutritional value or taste. While it may seem like a fancy technique, you might be surprised to know that you don’t even need a specialized machine to freeze dry food at home. There are simple ways you can achieve freeze-dried foods without the help of major equipment.
Got you salivating yet?
Well, let’s dive right into how you can freeze dry food without a machine, right in the comfort of your own home. Get ready to upgrade your food preservation skills while keeping the process easy and affordable.
Preparing to Freeze Dry
Before you start freeze drying food without a machine, it’s essential to gather the necessary tools and supplies from your kitchen and pantry. Here are the things you’ll need:
- Trays or baking sheets: You’ll be using them to hold the food you want to freeze dry. Make sure they fit in your freezer and that you’ve cleared ample space in your freezer, as you’ll need to leave the trays in there for an extended period.
- Drying racks: You’ll need these to keep the food you want to freeze-dry slightly above the trays or baking sheets. This allows for good air flow and helps in the drying process.
- Knife and cutting board: You’ll use these to chop or cut the food into smaller, evenly-sized pieces. Smaller pieces will dry faster and more efficiently.
- Clear work area: You’ll need a clear work area to lay out the trays, chop the food, and package it once it’s freeze-dried.
- Airtight container or food storage bags: You’ll use these to store the freeze-dried food, preserving its quality and shelf life.
Freeze-Drying Food Without Sublimation
Now that your kitchen, trays, racks, and cutting tools are ready, it’s time to begin the actual freeze-drying process. Keep in mind, this method is time-consuming, but you’ll end up with shelf-stable food that lasts much longer than its freshly-stored counterparts.
The first step of freeze-drying is the freezing part, and this is how you do it:
- Prepare your freezer. If you have a deep freezer, set the temperature to around -30°F (-34°C). If you’re using a regular home freezer, set it to the lowest possible temperature, which is typically -10°F (-23°C). Remember that most freezers are already set to 0°F (-18°C), so you’ll need to adjust it accordingly.
- Cut the food you want to freeze-dry into small pieces. Smaller pieces freeze more evenly and ensure a better freeze-drying outcome. Be sure to spread the pieces out and give them enough space to ensure proper air circulation during the process.
- Place the air-drying racks on the trays or baking sheets, and put the cut pieces of food on the air-drying racks. Leave a small amount of space between each piece of food to ensure air flow on all sides.
- Put the trays inside your freezer. Then, leave them there. At first, the food on the racks will freeze like normal, but over a matter of weeks it will start to dry out. To test if your food is fully dried, simply remove one piece. If it’s dry and brittle, you’ve successfully freeze-dried your food.
While this method might not provide the same results as using a specialized freeze-drying machine, it’s an effective and straightforward way to preserve your food at home. Just remember to keep an eye on the temperature and maintain proper air circulation, and you’ll be well on your way to creating a sustainable and long-lasting food supply.
It’ll just take a while.
Home Freeze-Drying With Sublimation
All right, now that you know the simplest way to freeze-dry food at home, it’s time to dive into the more advanced freeze-drying process that involves sublimation.
While this method is still time-consuming, it closely emulates the professional freeze-drying process, giving you better results in terms of food preservation.
Here’s what you do:
- Prepare you freezer. If you own a deep freezer, aim for a temperature of around -30°F (-34°C). If you’re using a standard home freezer, set it to its lowest setting, typically around -10°F (-23°C). Most freezers are preset to 0°F (-18°C), so ensure you adjust it.
- Slice the food you plan to freeze-dry into small, uniform pieces. This promotes even freezing and enhances the freeze-drying quality.
- Distribute these pieces on air-drying racks placed on trays or baking sheets. Make sure there’s ample space between each piece for air circulation.
- Transfer the trays to your freezer. The food will freeze like normal. Once it’s completely frozen (give it 24 hours), you’re ready to move onto the sublimation part of the process. This is where the magic of freeze-drying truly happens.
- Place the frozen food inside vacuum-sealable bags. Make sure you keep them in small batches.
- Extract as much air as possible from the bags. Ideally, you’ll do this with a vacuum sealer, as it’s more effective. But since we’re talking minimum equipment here, you can also use a straw to manually draw out the air.
- Return the food to the freezer. In the vacuum-sealed environment at frigid temperatures, the moisture within the frozen food will start to sublimate, transitioning directly from ice to vapor without going through a liquid phase. This phase can take one to two weeks, depending on the type and thickness of the food. Periodically check a piece to see if it’s completely dried. When it feels dry, lightweight, and brittle, the process is complete.
With this method, you’re harnessing the power of sublimation, drawing closer to the professional results of a freeze-drying machine. While it’s still a home method and may have some variations in results, it offers a more effective way to preserve food for longer durations than letting food dry on its own.
Frequently Asked Questions
What is the best method for freeze-drying food without special equipment?
Hard-freezing in the freezer and then sublimating the food before freezing again. This will get you the closest to the results you would get with a dedicated freeze-drying machine.
What is the process to freeze-dry fruit at home?
Freeze-drying fruit at home without a machine is done exactly as described above. You can use either the long-freeze process or the sublimation process.
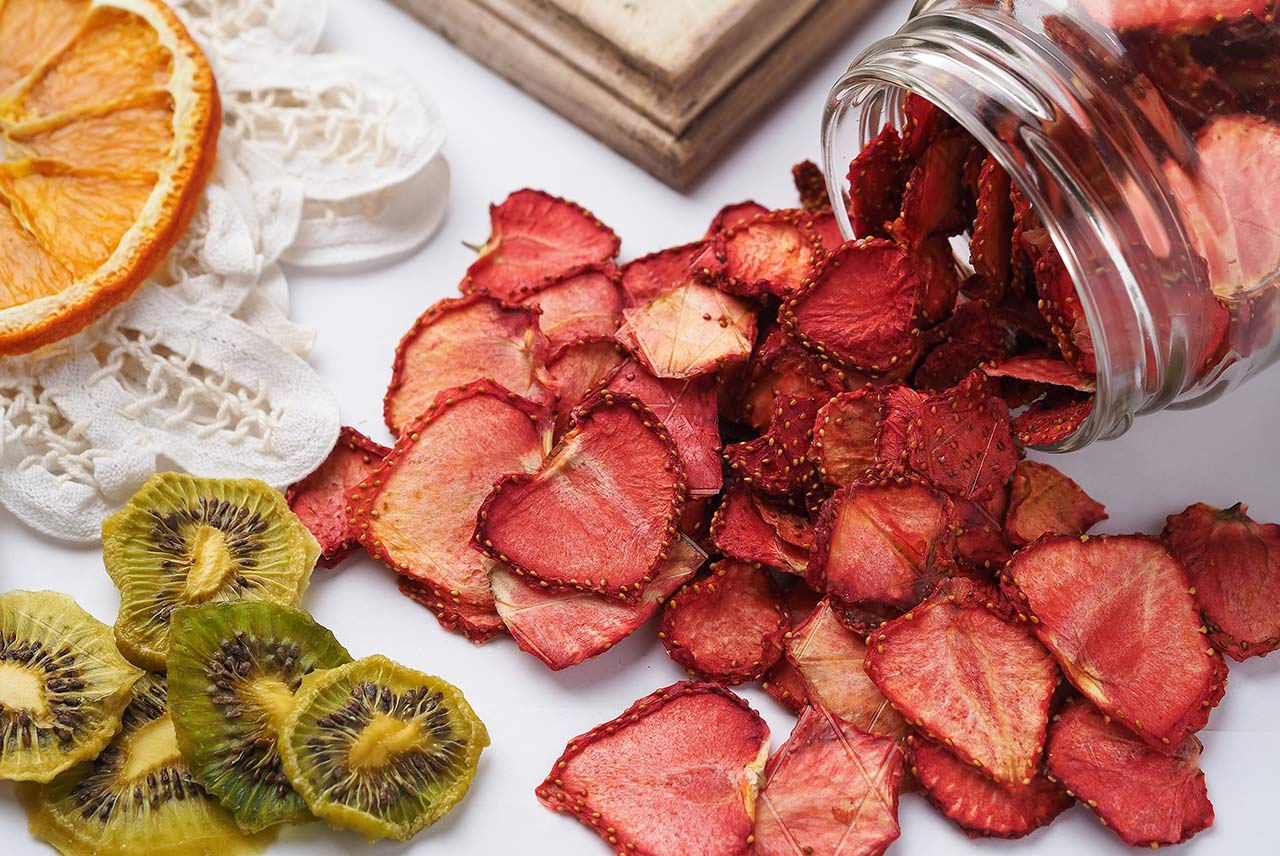
Is it possible to make freeze-dried strawberries without a machine?
Yes, you can freeze-dry strawberries without a machine by using your home freezer as described in the two methods above.
How can a vacuum chamber be used to freeze-dry food?
A vacuum chamber can be an alternative to freeze-dry food without a dedicated machine. The principle behind this method relies on reducing air pressure to speed up the sublimation process. The method is described in “Home Freeze-Drying With Sublimation” above.
Are there any alternatives for freeze-drying herbs without a freeze dryer?
One alternative for drying herbs without a freeze dryer is to use the air-drying method. Simply tie the stems of the herbs with a piece of string or twine, and hang them upside down in a dry, cool, and well-ventilated area away from direct sunlight. The drying process typically takes one to three weeks, depending on the size and moisture content of the herbs. After the herbs are completely dehydrated, store them in a clean, air-tight container to maintain their flavor and longevity.

